How To Use Painters Tape
The hardest part of painting can be getting started. Not anymore. Glidden is here to help you learn how to use painter's tape and get started on your next paint project.

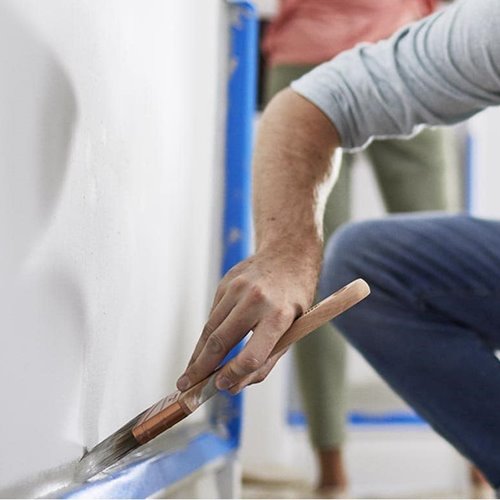
Painter's tape being applied
Painter's Tape
Follow the step-by-step instructions below and make sure to watch our How to Use Painter's Tape video, so you can confidently pick up a roll of painter's tape and get started on that painting project you have been Procrastipainting.
How to Use Painter's Tape
How To Use Painter's Tape Step-by-Step Instructions:
Step 1: Make sure the surface you are prepping is clean and ready for painter's tape application
Step 2: Rip off a piece of painter's tape from the roll approximately the length from your wrist to your elbow
Step 3: Line up the painter's tape against the baseboard, trim, or ceiling you are prepping. Start pressing in the middle and work your way to the edges of the painter's tape (make sure the painter's tape edge is flush with the wall)
Step 4: Using a brush, paint the wall along the edge of the painter's tape
Step 5: Before the paint is dry, remove the painter's tape at an angle. If the paint is already dry, use a straight edge and a razor blade to score the paint and tape and then remove the painter's tape
Step 6: Ball up and properly dispose of the painter's tape
As always, please refer to the Product Label, Technical Data Sheet and Safety Data Sheet for safety and detailed application instructions.See All Painting Tools


