

When you can’t afford a major kitchen remodel, paint is the most affordable and easy way to change the look and feel of your kitchen cabinets. If repainting kitchen cabinets seems like a daunting project, have no fear—it’s not as time consuming as you may think. Of all the painting projects I have done in my house, painting and then 10 years later repainting the cabinets in my kitchen is, and I think always will be, the best DIY paint project I have ever done.
I repainted my cabinets from antique white to white-white. The antique white paint was still in great condition after 10 years. The only reason I repainted the cabinets was because I wanted pure white to brighten up the room.
I repainted my cabinets from antique white to white-white. The antique white paint was still in great condition after 10 years. The only reason I repainted the cabinets was because I wanted pure white to brighten up the room.
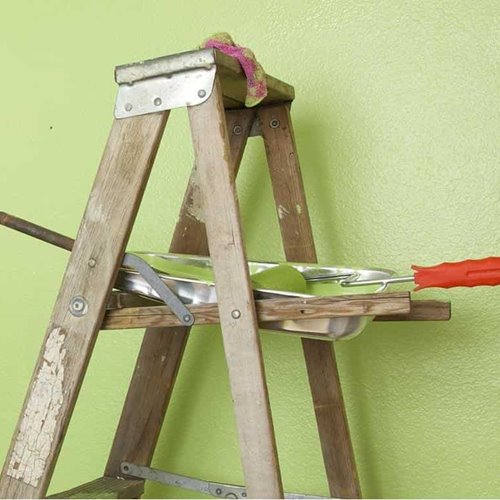
Ladder with paint supplies
1. Prep Cabinets
Step-by-Step
To make the project of repainting kitchen cabinets go smoothly, a little planning and staging is required.- Protect your floor with cardboard or drop cloths. Note: I didn’t need to protect my floor since after painting, they were going to be sanded and refinished.
- Create an area to hold all of your paint and supplies. I called mine “Grand Central.” At the end of each day, I placed everything back in Grand Central, so that I was organized and ready to go the next day.
- Clean the cabinet surfaces with TSP or detergent to remove dirt and grease. Let dry. As always, safety first! Please refer to the Product Label, Technical Data Sheet (TDS) or Safety Data Sheet (SDS) for safety and detailed application instructions.
- Go over the surfaces with a sanding* block with 100 grit sandpaper on it. You don’t have to sand to the bare wood, only rough up the surface slightly. This will help with adhesion.
- Clean off sanding grit with a sticky cloth called a tack cloth.
2. Prep Your Space
- Plan to repaint the cabinets in sections. I did the island first, then the left side of the kitchen, then around the oven, and then the right side of the kitchen. Breaking it up this way will keep you organized and still allow you to cook and use your kitchen while the painting process is going on.
- I set up two saw horses and placed two long boards between them to lay a few cabinet doors on to paint. It creates a production line, making the process of repainting and switching out the hardware go quickly.
- I used my kitchen island to line up the drawers to paint.
- I used an interior semi-gloss latex paint that self-levels. I needed 2 gallons.
- Since the cabinets have already been painted, you do not need a primer.
3. Paint
- Use a high quality 1″-2″ angled brush to paint beveled areas and a foam paint roller with rounded ends to paint the flat smooth areas of the cabinets and drawers.
- Apply two light coats of paint, letting the first coat dry completely before applying the second coat.
- If you see any ridges or drips in the first coat after it is dry, go over them with the sanding block to smooth. Use a tack cloth to clean off the grit before applying the second coat of paint.
- When painting glass doors, you can mask off the glass with painters tape, but I find just painting and then removing the paint that got on the glass with a razor blade scraper is much faster.
After
- Wait a day or two before reattaching the pulls and be gentle with your freshly repainted cabinets since paint does take a few days to cure to maximum hardness.
- To add more color interest to the backs of open cabinets, paint boards that are cut to the size of the cabinet backs. Cut a few and paint them different colors—that way you can change them out for the season or when you want a change of color.
*WARNING! If you scrape, sand, or remove old paint, you may release lead dust. LEAD IS TOXIC. EXPOSURE TO LEAD DUST CAN CAUSE SERIOUS ILLNESS, SUCH AS BRAIN DAMAGE, ESPECIALLY IN CHILDREN. PREGNANT WOMEN SHOULD ALSO AVOID EXPOSURE. Wear a NIOSH-approved respirator to control lead exposure. Clean up carefully with a HEPA vacuum and a wet mop. Before you start, find out how to protect yourself and your family by contacting the National Lead Information Hotline at 1-800-424-LEAD or log on to www.epa.gov/lead