8 Things Most New Painters Overlook
Painting isn’t hard (truly anyone can do it) but before you dive right into painting a wall or a piece of furniture, check out my list of the top eight things new painters may not know. They’re in no particular order—and knowing about each one will ensure the perfect paint job, every time!
Glidden Paint can
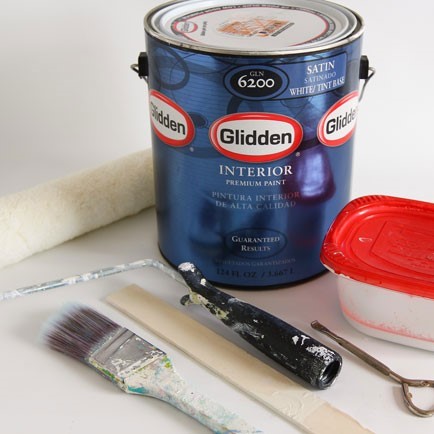
1. Read the can.
Every type of paint and primer has need-to-know such as safety information about the particular formula on the can, along with the timing of coats and the right temperature to ensure proper coverage, adhesion, and drying time. For instance, did you know that joint compound on walls needs to dry for two days before applying primer over it? Save time and frustration in the long run –read the can first.See All Glidden Paint Colors

Glidden Paint can
2. Stir, stir, stir, and stir some more.
There’s a reason that you are given a stirrer every time you buy a can of paint. The ingredients can and do separate—make sure to stir when you start to paint, and again every so often while painting. This ensures that the color and consistency of the finish will look great.See Easy Weekend Paint Projects

Patched and sanded wall
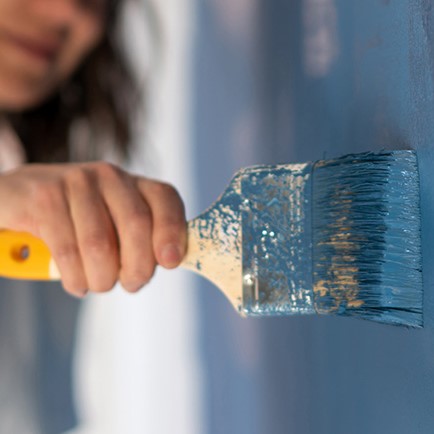
3. Patch and sand* the surface before painting.
If you don’t, every hole, ridge, crack, or bump will be extra visible with a coat of paint on it. A good paint job is all about the prep workSee How to Choose the Right Finish
Glidden Paint in tray
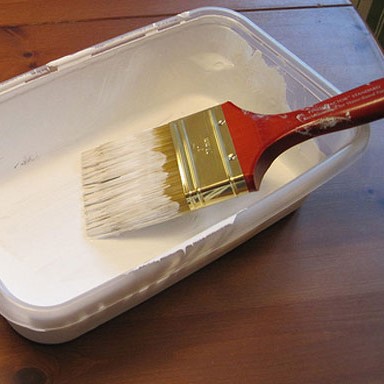
4. Pour the paint you’re using into a separate container.
This is especially important when you’re using a brush that needs to be constantly dipped into the paint to reload it. If you dip the brush into the can over and over, you end up contaminating the paint with dirt and dust from the surface you’re painting on. Plus, leaving the can open will dry out the paint in the can faster. It’s best to pour the paint into a separate container that you can hold in one hand and dip the paintbrush into with your other hand as you paint. When it needs refilling, open the paint can, stir, and pour paint as needed into your container.See What to Do With Leftover Paint
5. Don’t use a latex paint over a surface that was previously painted with oil paint.
Oil paint on trim and doors is quite common in older homes. If you suspect the surface you want to paint is oil based, make sure to use a good primer over it first. It can be a latex primer, but it has to be a product that is made to prepare the surface and help with adhesion. When the primer coats are dry, then you can apply latex paint over it.See How to Test for Oil Based Paint

Glidden Paint on wall
6. Use more thin coats, not fewer thick coats.
When you need more than one coat for complete coverage, remember: multiple thin coats always produce better results than just one or two thick coats. Let each coat dry thoroughly before applying the next coat. If you roll a second or third coat over a still-wet coat, the paint won’t be smooth when it dries.How Long Paint Takes To Dry and Cure
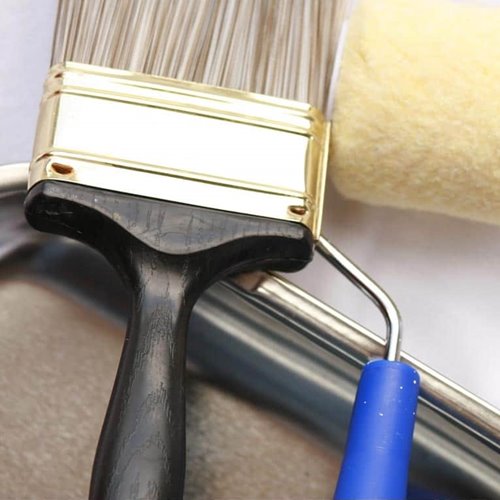
Paint brush rollers
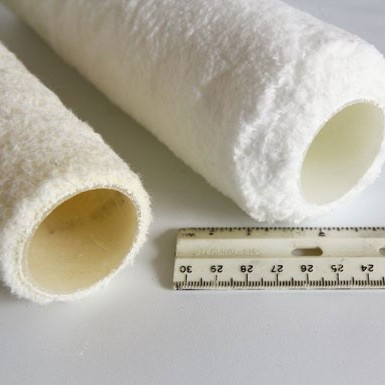
7. Buy the best brushes and rollers that you can afford.
Don’t just grab any roller cover. For most walls, you want a smooth finish—use a thinner ¼”–½” nap roller. If you want your wall to have the texture of an orange peel when dried, then use a roller with a thick nap. Higher quality brushes and rollers may cost more, but will not only give you a better finish, you’ll also have them for years if you take care of them properly, saving you money in the long run.See More Helpful How-To Articles
Paint brushes
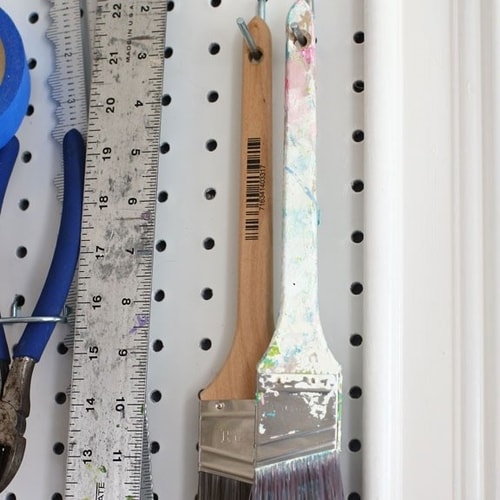
8. Good paintbrushes have a hole in the handle.
Do you know why? It’s not just so it can hang nicely on a display wall in the store. It’s so you can hang your brush after washing it with brush cleaner or hot soap and water. A just-washed paintbrush holds lots of water in the bristles and also in the metal band that holds the bristles together. When water sits in the brush, it can damage and loosen the bristles. Hanging a brush to dry allows all the excess water to drip out and will keep the bristles nice and straight for the next time you use it.
How Do I Clean Paint Brushes?