How to Paint Furniture like a Pro
Painting furniture is different from painting walls because furniture gets used. You don’t store books or sleep on your walls. So while a few coats of paint could last years on walls, that treatment might not hold up the same on a bookshelf or bed.
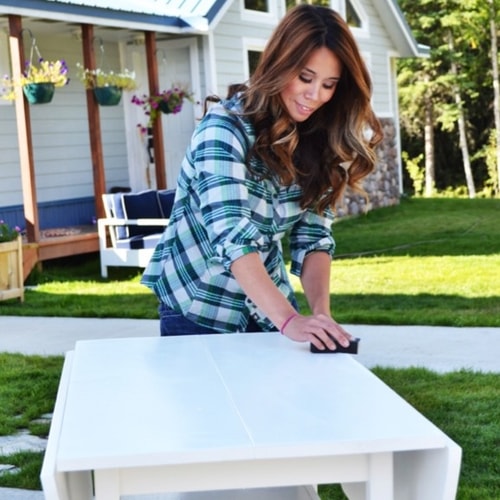
Woman preparing furniture for paint
Prepare Furniture
Here’s how to paint furniture and get a professional-looking finish that will hold up through years and years of use:1. If you’re painting bare wood, sand the wood in the direction of the wood grain with medium grit sandpaper. Vacuum the project and adjacent area with a soft bristled brush. Then wipe the project down with a tack cloth to remove all sanding residue.2. If you’re painting a previously finished project, clean the project well. If the project has a high gloss finish or a clear top coat, lightly sand* the project with a medium grit sanding block. This will enable new paint coats to bond with existing paint coats. Remove sanding residue with a vacuum that has a soft bristled brush attachment. Wipe your project down with a tack cloth to remove all sanding residue.3. Primer acts as a bonding coat between the paint and the project. Primed projects usually require fewer coats of paint, saving you money and time in the long run, as primer is usually less expensive than paint. Apply a light coat of the primer with a brush, brushing with the grain of the wood. Allow the primer to dry according to the manufacturer’s instructions.See Glidden® Premium Interior Paint Primer
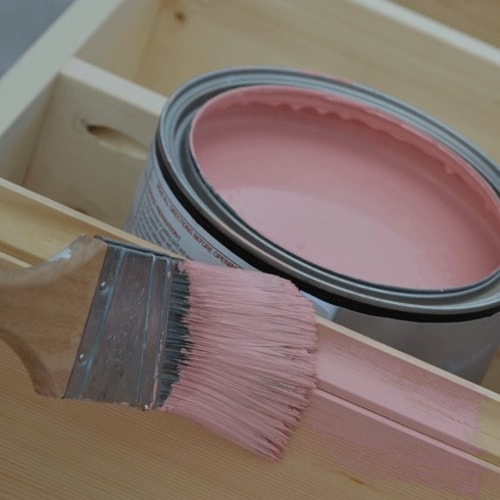
Glidden Paint on furniture
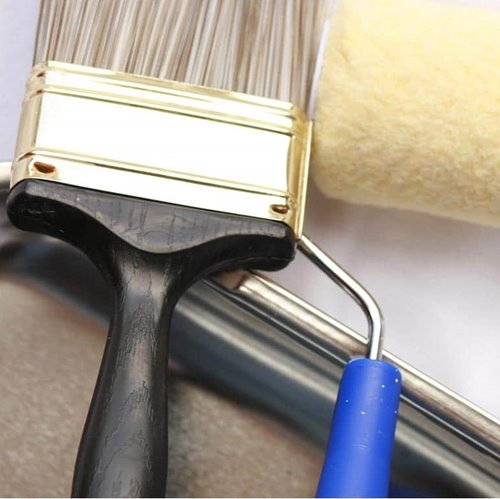
Paint Furniture
I recommend flat paint for painting furniture because you can sand easily between coats, and flat paint tends to bond better with multiple coats. I also prefer multiple coats of flat paint as opposed to one goopy, thick coat of higher gloss or enamel paint.Apply multiple coats, working in the direction of the wood grain, allowing each coat to dry as recommended by instructions on the paint can. Sand with fine sandpaper between coats after they dry. Make sure you remove sanding residue before applying additional coats.I recommend three thin coats of paint, but it all depends on the color and consistency.Find All Interior Flat Paints
Final Coat
After the final coat of flat paint, sand* lightly with super fine sandpaper. Your project should be smooth and even. Remove sanding residue with a soft bristled brush attachment on a vacuum. Then wipe the project down with a damp cloth. Allow the project to dry completely.Apply a clear top coat over the last coat of paint, following manufacturer’s instructions. Use a water-based polyurethane for water-based paints, or an oil-based polyurethane over oil-based paints. Tip: Do not apply oil-based polyurethane over light colors as the oil-based polyurethanes yellow. Again, apply multiple thin coats of clear top coat as you did the paint, working in the direction of the wood grain. Sand with fine sandpaper between coats.Following these steps you can paint furniture like a pro. Take the time to do it right, and your painted furniture will last through years of use.See More Helpful How-To ArticlesAs always, safety first! Please refer to the Product Label, Technical Data Sheet (TDS) or Safety Data Sheet (SDS) for safety and detailed application instructions.*WARNING! If you scrape, sand, or remove old paint, you may release lead dust. LEAD IS TOXIC. EXPOSURE TO LEAD DUST CAN CAUSE SERIOUS ILLNESS, SUCH AS BRAIN DAMAGE, ESPECIALLY IN CHILDREN. PREGNANT WOMEN SHOULD ALSO AVOID EXPOSURE. Wear a NIOSH-approved respirator to control lead exposure. Clean up carefully with a HEPA vacuum and a wet mop. Before you start, find out how to protect yourself and your family by contacting the National Lead Information Hotline at 1-800-424-LEAD or log on to www.epa.gov/lead.